


How to migrate from Vimeo to Bunny Stream

Marek Nalikowski

May 13, 2026
Whether you're a creator sharing your work through Vimeo or a developer integrating video into an app or platform, this guide walks you through how to migrate your video content to Bunny Stream.
What we’ll cover:
- Choosing the right migration path for your situation
- How to move your video content manually with direct upload or URL import
- How to automate the process with CLI-based bulk migration
Why migrate from Vimeo to Bunny Stream
Vimeo is an all-in-one SaaS platform for hosting, managing, and sharing video content. As of May 2026, it offers four paid tiers (Starter, Standard, Advanced, and Enterprise) billed either monthly or annually. Each tier comes with fixed storage and bandwidth limits, and more advanced features are only available in the higher subscription plans.
Bunny Stream is a feature-rich video hosting solution that is part of the bunny.net web infrastructure platform. Instead of subscription tiers, Bunny Stream uses a usage-based pricing model, where you’re charged only for the storage you use and the traffic your videos receive.
With the exception of some enterprise-grade add-on features, Bunny Stream offers most of its functionality to all users, regardless of how much they pay. By default, Bunny Stream is prepaid, meaning you purchase credits to use it, which ensures you’re never hit with runaway costs (though postpaid is available on request).
Despite being part of an API-first web infrastructure platform, Bunny Stream has an intuitive user interface, that makes it accessible to non-technical users. With its attractive, usage-based pricing, it’s very cost-effective for small creators and growing businesses alike.
Planning your migration from Vimeo to Bunny Stream
The right migration path depends mostly on the size of your video library and how you want to handle the process. In general, you have three options:
- Manual upload → best for small libraries; requires access to your original video files
- URL fetch → also practical for smaller libraries; lets you import videos using a direct file URL from Vimeo without downloading them locally
- Bulk migration using the Vimeo2Bunny CLI tool → best for larger libraries; automates the migration process
Pick the option that works best for you, then follow the instructions below.
Migrate via manual upload
Before you begin, sign up for a bunny.net account and make sure you have all the videos you need saved on your computer.
- Step 1: In your bunny.net dashboard, go to Stream.
- Step 2: Click Add Video Library, then enter a name.
- Step 3: Once the library is created, select Upload a Video. You can upload multiple videos at once.
- Step 4: After the upload is complete, your video(s) will appear in the library. Selecting a video will take you to a screen like the one below, where you can edit its title, description, etc., as well as grab its URL or embed code.
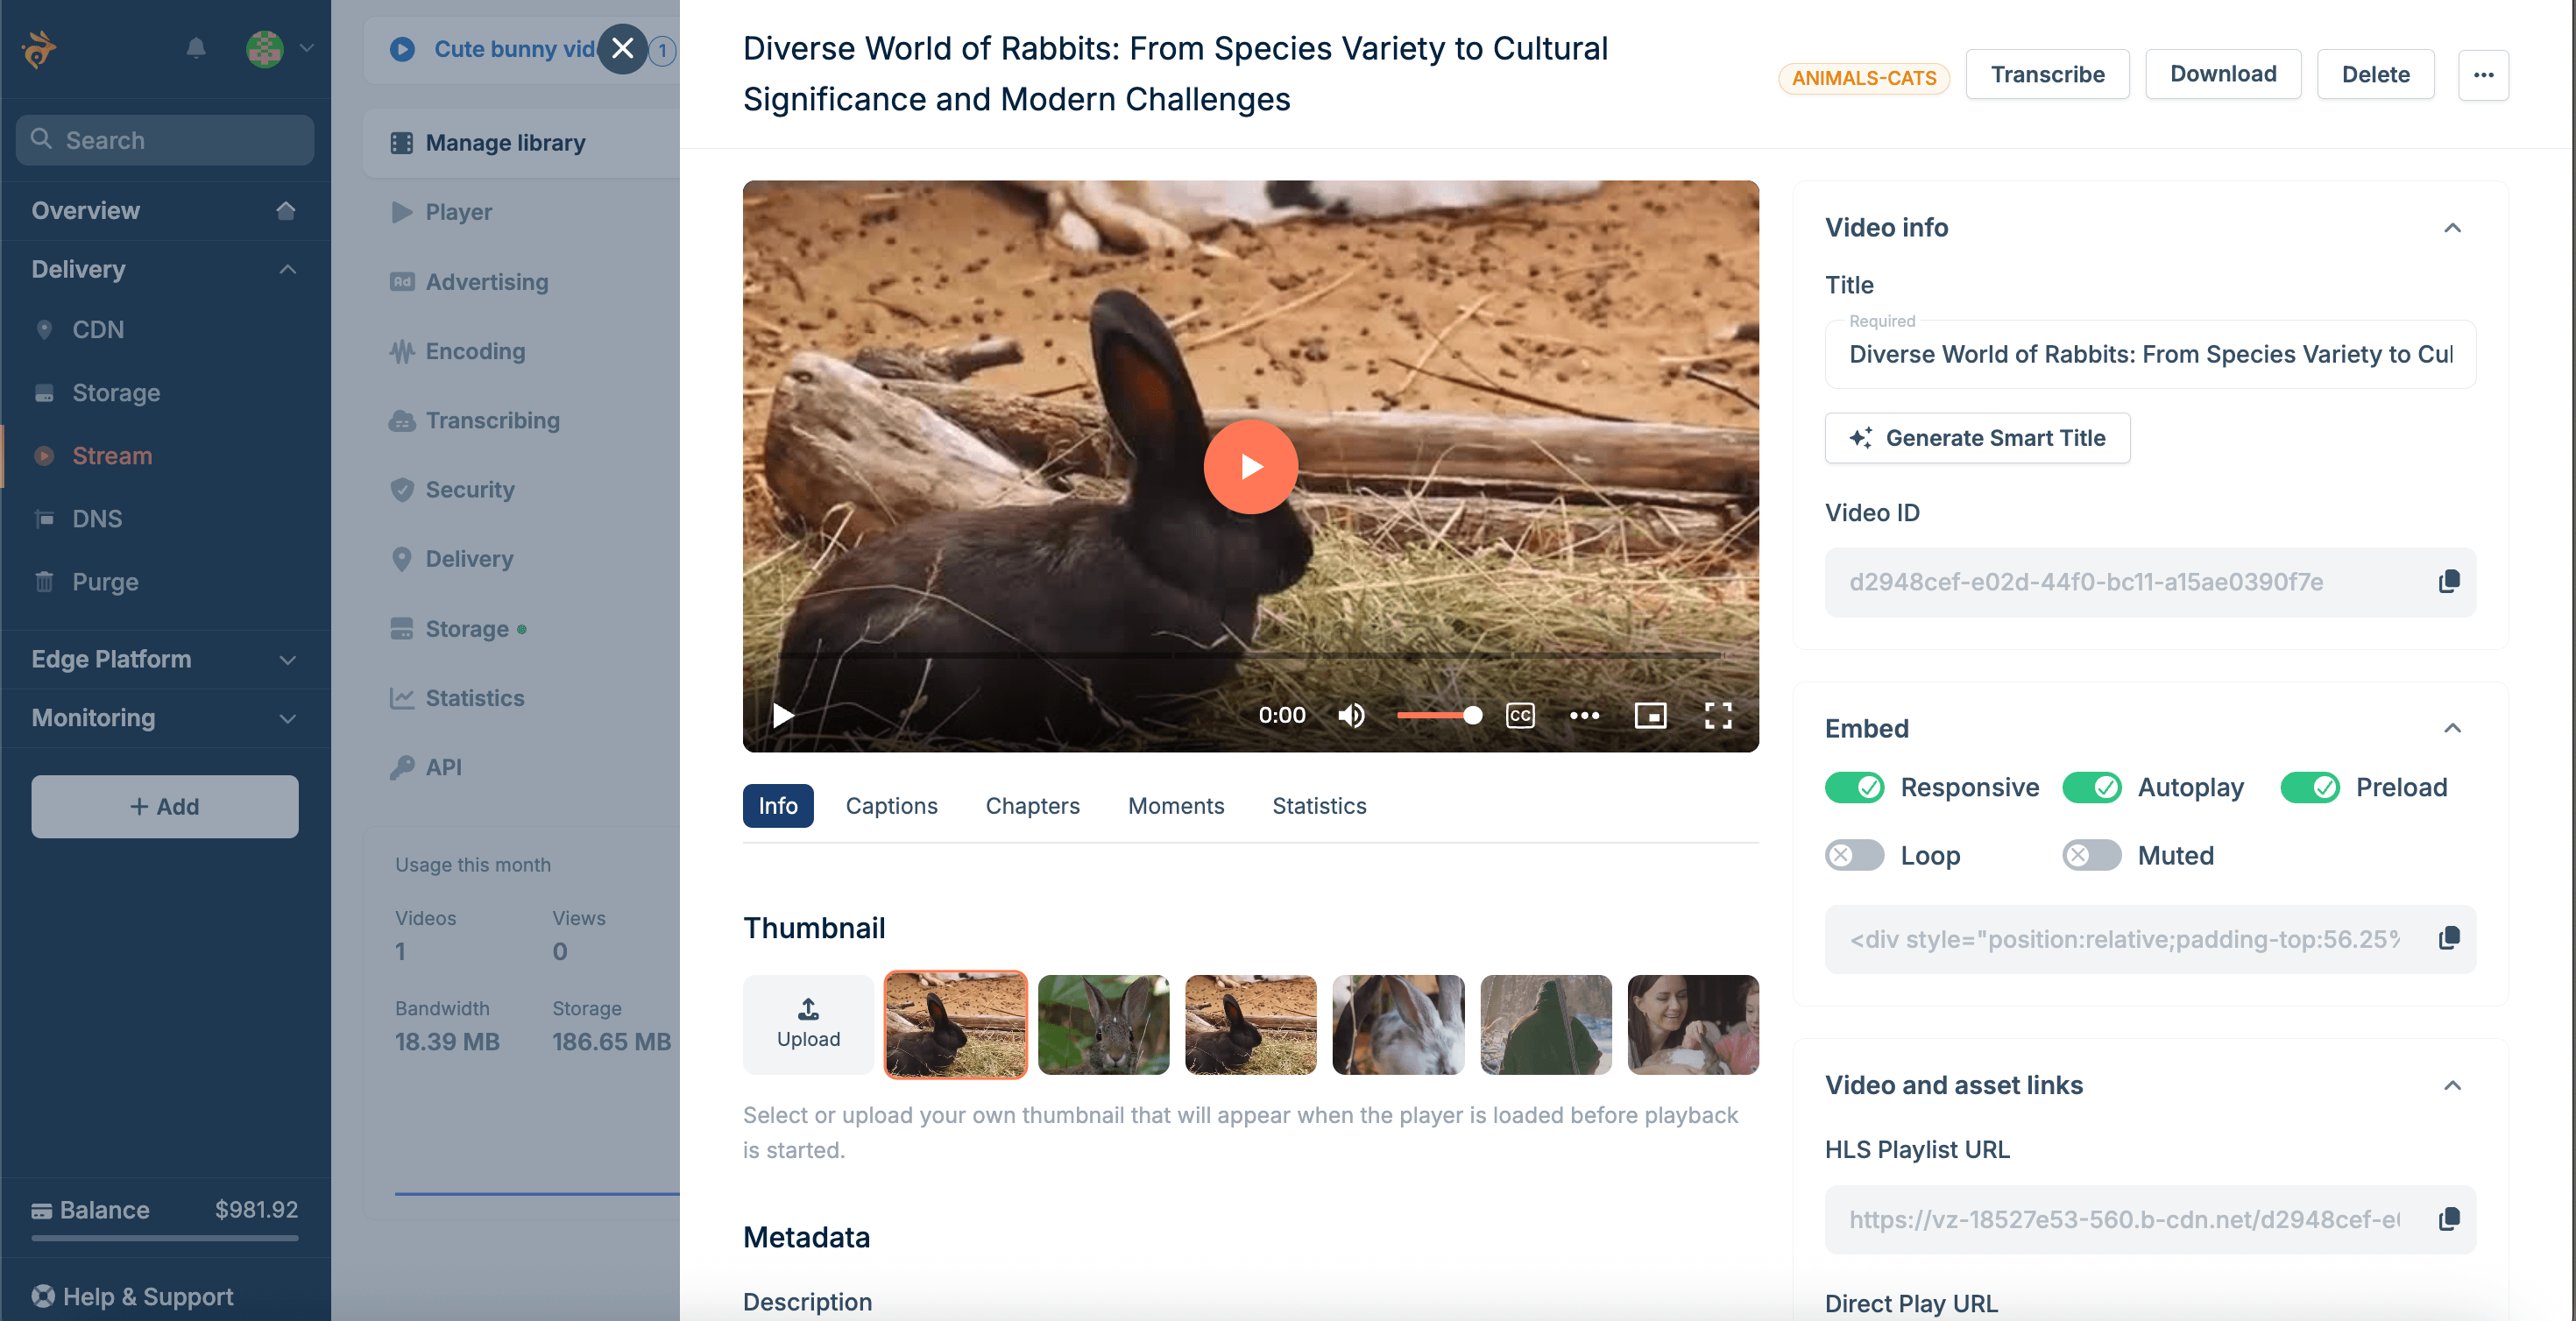
And that’s it: your videos are now ready to be shared.
- If you’re sharing videos privately (e.g., sending a link to a client), just copy the Direct Play URL from the video’s page in the dashboard.
- If you’re hosting videos on your website, replace your existing Vimeo embeds with Bunny Stream embed codes. You can adjust embed settings and copy the embed code from the video’s page under Embed.
Migrate via URL fetch
Instead of uploading files from your computer, you can import videos using a direct file URL from Vimeo.
- Step 1: In your bunny.net dashboard, go to Stream.
- Step 2: Click Add Video Library, then enter a name.
- Step 3: Now go to your Vimeo account and navigate to your video library.
- Step 4: Choose a video you’d like to move to Bunny Stream and click the Share dropdown ("More sharing options") in the top-right corner.
- Step 5: Select Download — you’ll get a pop-up menu with available resolutions to download.
- Step 6: Right-click the download icon for the resolution you’d like to upload and select Copy link address.
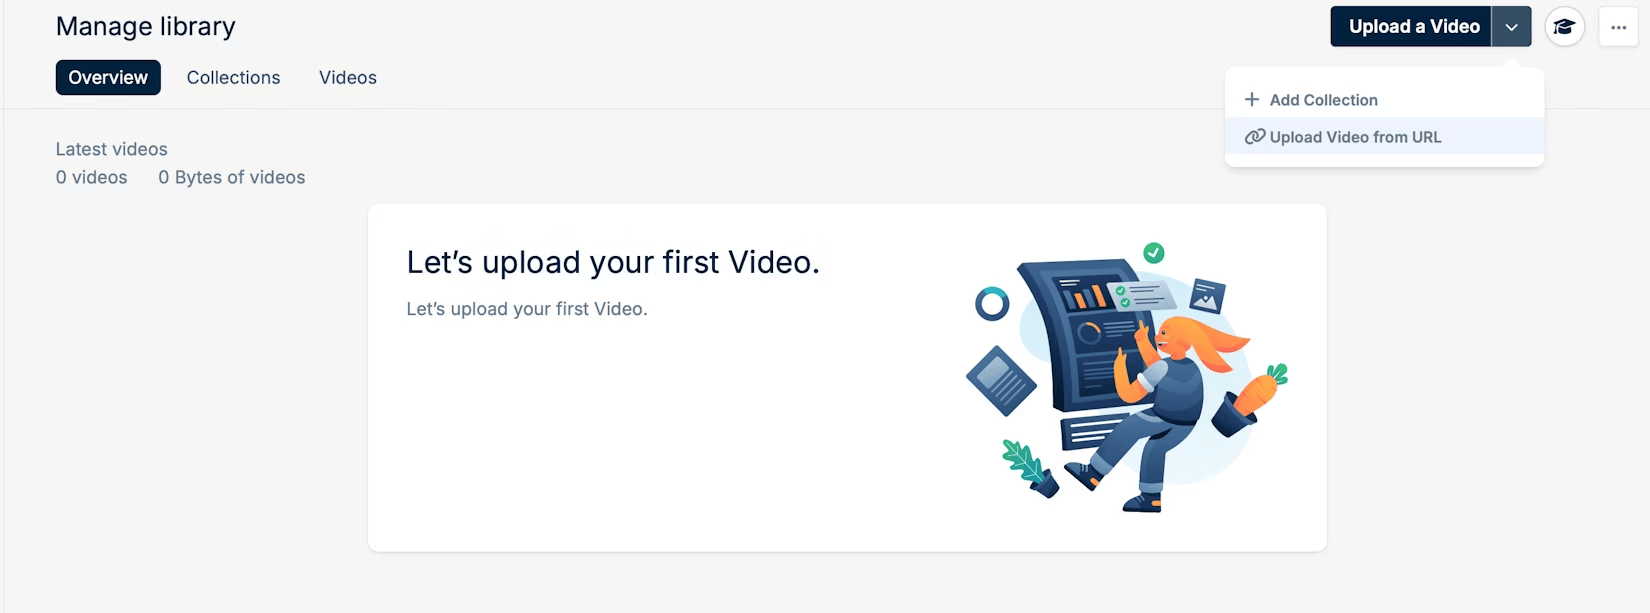
- Step 7: Now go back to your bunny.net video library, click the dropdown next to Upload a Video, and select Upload Video from URL.
- Step 8: Paste the Vimeo URL from your clipboard into the URL field of the pop-up menu and click Upload Video.
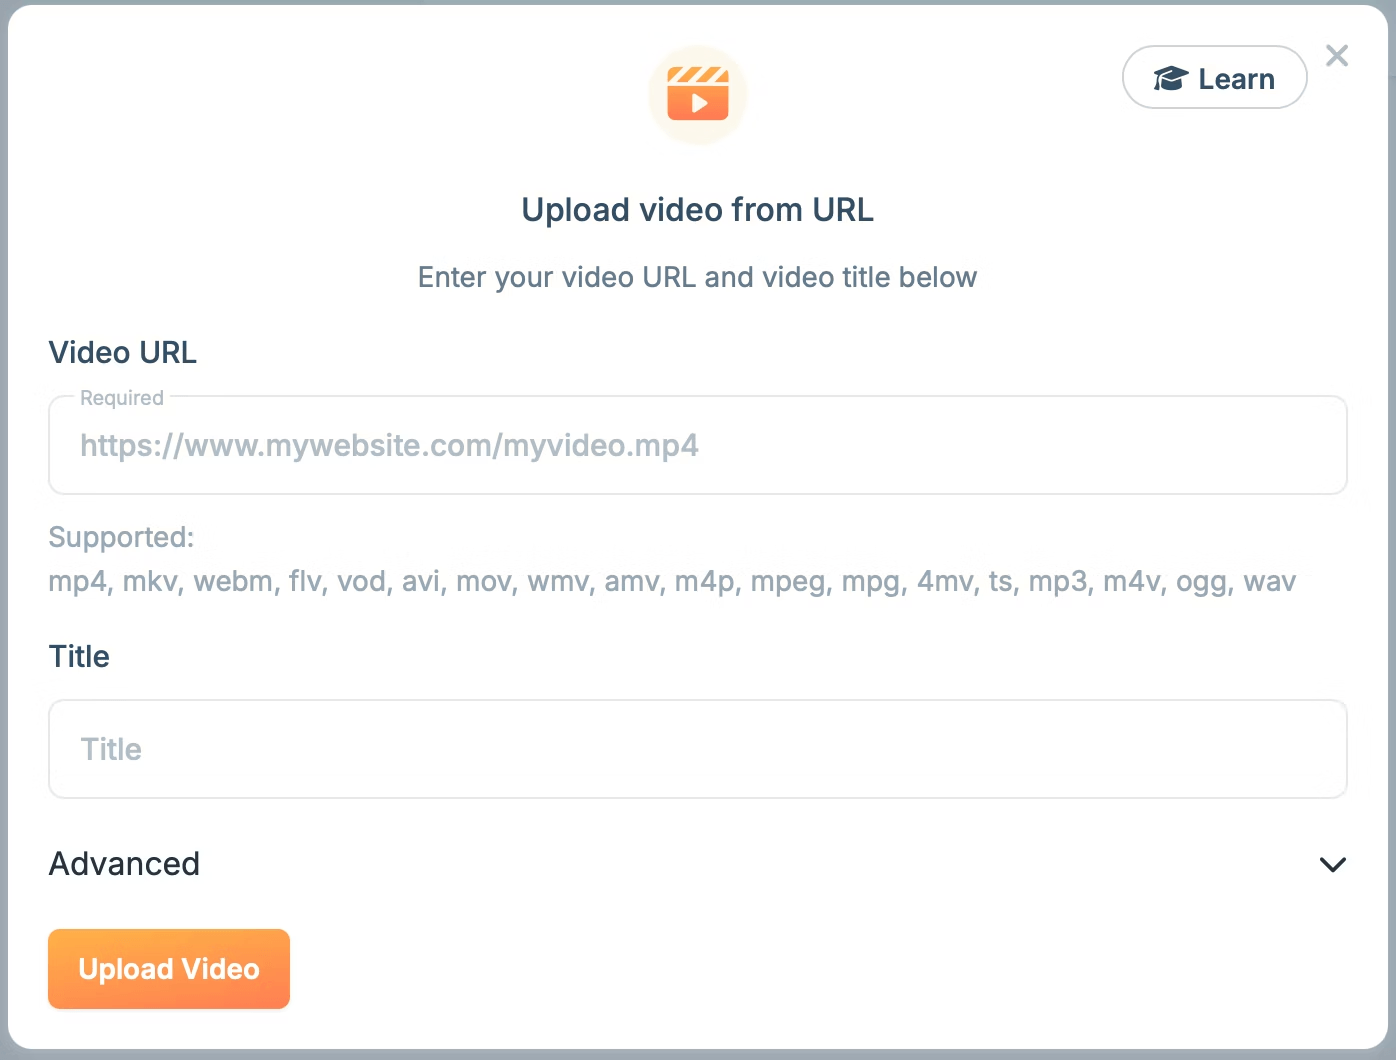
Note that, depending on your Vimeo video settings, you may need to add request headers and key values under Advanced if they are needed to authenticate the HTTP/HTTPS request to download your video.
As with manual uploads, if you're hosting videos on a website, you'll need to replace your existing Vimeo embeds with Bunny Stream embed codes. You can adjust embed settings and copy the embed code from the selected video’s page under Embed.
Bulk migration using Vimeo2Bunny CLI
Both manual upload and URL fetch methods are impractical for larger libraries, so we built a CLI tool that automates the video migration using URLs.
Vimeo2Bunny is able to fetch all (or selected) videos and folders from your Vimeo account and create bunny.net collections matching your Vimeo folder structure.
For each video, the tool gets a download URL from Vimeo and sends it to bunny.net’s fetch endpoint. Bunny Stream downloads directly from Vimeo and copies title, description, and tags. The tool also saves progress to
~/.vimeo2bunny/migration-state.json
so migrations can be resumed if needed.
You can run Vimeo2Bunny without installation using npx. If you don’t have npx installed, follow this official installation guide.
To use the tool, you’ll need to first get the API credentials from both Vimeo and bunny.net.
How to get the Vimeo Access Token
- Step 1: Log in to the Vimeo Developer Portal and click Create an app.
- Step 2: Enter a name for the app and add a brief description. Avoid including “Vimeo” in the name as it will be rejected.
- Step 3: Select No for “Will people besides you be able to access your app?”, then accept the terms and click Create App.
- Step 4: On your app’s page, go to the Authentication section in the left sidebar.
- Step 5: Under Generate an access token, select Authenticated (you) and check the following scopes:
| Scope | Required |
|---|---|
| Public | ✔️ Required (pre-selected) |
| Private | ✔️ Required |
| Video Files | ✔️ Required |
- Step 6: Click Generate. Your personal access token will appear under Personal Access Tokens. Copy and store the token immediately, as it won’t be shown again.
How to get your Bunny Stream credentials
- Step 1: Log in to bunny.net.
- Step 2: Go to Stream and select a video library.
- Step 3: Go to API and copy the Video Library ID and the API key.
How to use the Vimeo2Bunny CLI
If you’re using npx
(recommended), remember to prefix all commands with
npx.
Alternatively, you can install from npm or clone the repo, as described
here.
To get started, run:
You’ll be prompted to enter your Vimeo Access Token, Bunny Stream Library ID, and Bunny Stream API key. Alternatively, you can set environment variables (or use an
.env
file):
export VIMEO_ACCESS_TOKEN=your_token
export BUNNY_LIBRARY_ID=your_library_id
export BUNNY_LIBRARY_API_KEY=your_api_key
Once configured, the tool lets you list your Vimeo content and migrate all or selected videos:
# everything
vimeo2bunny list --folders
# folders only
vimeo2bunny list --videos
# videos only
# Preview what will happen (no changes made)
vimeo2bunny migrate --dry-run
# Run the migration
vimeo2bunny migrate
# Migrate a specific folder
vimeo2bunny migrate --folder <vimeo-folder-id>
# Adjust parallel transfers (default: 3, max: 20)
vimeo2bunny migrate --concurrency 5
# Resume an interrupted migration
vimeo2bunny migrate --resume
# Check migration status
vimeo2bunny status
Here’s what gets mapped during bulk migration and how:
| Vimeo | bunny.net | Notes |
|---|---|---|
name
|
title
|
Direct mapping |
description
|
metaTags[description]
|
Stored as meta tag |
tags
|
metaTags[keywords]
|
Comma-separated |
Folder
|
Collection
|
Folder → Collection |
After migrating your videos to Bunny Stream, don’t forget to replace your existing Vimeo embeds with Bunny Stream embed codes. You can find more details about embedding videos in the docs.
Wrapping up
Migrating from Vimeo to Bunny Stream is straightforward once you’ve chosen the approach that fits your setup.
- For smaller libraries, manual upload or URL fetch will get you up and running quickly.
- For larger libraries, the Vimeo2Bunny CLI tool handles the migration efficiently and lets you resume progress if needed.
Once your videos are in Bunny Stream, the final step is updating your embeds so your content continues to play on your website or app.
A quick note: this guide and the Vimeo2Bunny tool are intended for migrating content you own or have permission to use. You're responsible for making sure your usage complies with Vimeo's terms.